
Below are the instructions on how to turn "Labels into Horizontal Tabs,"
Step 0: Label your posts.
Make sure your blog has some posts with label assigned, otherwise nothing will get created. See this topic on how to create labels:
http://help.blogger.com/bin/answer.py?answer=44498&topic=9084
Step 1: Downloading and unzipping the file from the Exploding Boy website
Here are the downloading and sample links:
http://www.exploding-boy.com/2005/12/15/free-css-navigation-designs/
http://exploding-boy.com/images/cssmenus/menus.html
Then, have a googlepages account and upload the pics there.
Step 2: Changing the Header to become appendable.
Modify this line:
<b:section class="header" id="header" maxwidgets="1" showaddelement="no">
to become
<b:section class="header" id="header" maxwidgets="2" showaddelement="yes">
Step 3: Prepare the CSS portion of the hack.
Go to the very end of this article and cut the CSS portion you like there, then paste it at the very end of the CSS code (right before the closing CDATA part - see picture below)
Make sure to replace "www.yourwebsite.com" to your website.
Below is an example of pasting the code for style F:
/*- Menu Tabs F By http://www.exploding-boy.com/2005/12/15/free-css-navigation-designs/------
*/
#tabsF {
float:left;
width:100%;
font-size:80%;
line-height:normal;
border-bottom:1px solid #000;
}
#tabsF ul {
margin:0;
padding:10px 10px 0 50px;
list-style:none;
}
#tabsF li {
display:inline;
margin:0;
padding:0;
}
#tabsF a {
float:left;
background:url(" http://www.yourwebsite.com/labeltabs/tableftF.gif") no-repeat left top;
margin:0;
padding:0 0 0 4px;
text-decoration:none;
}
#tabsF a span {
float:left;
display:block;
background:url(" http://www.yourwebsite.com/labeltabs/tabrightF.gif") no-repeat right top;
padding:5px 15px 4px 6px;
color:#666;
}
/* Commented Backslash Hack hides rule from IE5-Mac \*/
#tabsF a span {float:none;}
/* End IE5-Mac hack */
#tabsF a:hover span {
color:#FFF;
}
#tabsF a:hover {
background-position:0% -42px;
}
#tabsF a:hover span {
background-position:100% -42px;
}
Step 4: Adding Label Widget
Follow the instructions from this article, especially step B.4. After you've done with inserting the code & save it, go to Page Element option and drag the newly added widget to stay under the Header area (that we fixed so that it would accomodate this new widget.)
<b:widget id='Label10' locked='false' title='' type='Label'>
<b:includable id='main'>
<div id='tabsF'>
<ul>
<li><a expr:href='data:blog.homepageUrl'><span>Home</span></a></li>
<b:loop values='data:labels' var='label'>
<li><a expr:href='data:label.url'><span><data:label.name/></span></a></li>
</b:loop>
</ul>
<!-- <b:include name='quickedit'/> -->
</div>
</b:includable>
</b:widget>
If you use a style other than F, than make sure id='tabsF' reflects the correct tab, such as id='tabsE' for style E. Later, if you like a different design, just cut-and-paste the style's CSS code, then change this id again to reflect the change.
There you have it! Well-designed tabs from professionals (The Exploding Boy website) being integrated into the new Blogger Beta.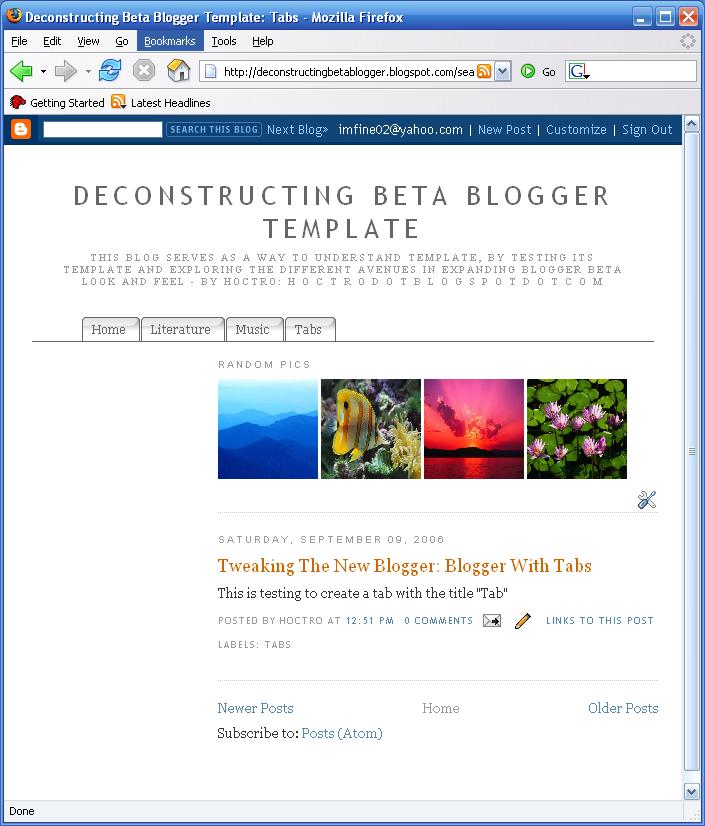
Enjoy This hack !!!
Thanks To - Hoctro
0
Labels into Horizontal Tabs - A Blogger Hack
Labels into Horizontal Tabs - A Blogger Hack
18 February, 2008
Posted in: Blogger Widgets | 0 Comments | Email This
Subscribe to:
Post Comments (RSS)

0 Responses to "Labels into Horizontal Tabs - A Blogger Hack"
Post a Comment